Showing posts with label projects. Show all posts

Friday, March 23, 2012

Fave Furniture Fridays...#2

Hello blog world.. and welcome to the second edition of Fave Furniture Fridays!
 (or, as Telisa and i have started calling it- "FFF")
Thanks so much for your links last week- it was fun checking each one out. The link with the most clicks was actually Telisa's- her armoire makeover was stunning, and you can see why!

I've been busy this week with a few projects of my own. I'm a big big fan of turning "trash to treasure", and the cheaper I can get a piece of furniture, the better the treasure it makes.
(when someone puts it on the curb, even BETTER!)
I usually redo about 2-3 pieces a week, and it's gotten a little crowded in our house- most of the pieces are either sold on craigslist or given to friends now. It's such a fun hobby!
Did i mention a little crowded in our house? I meant a lot.

This chair was one that i found at goodwill for three dollars.
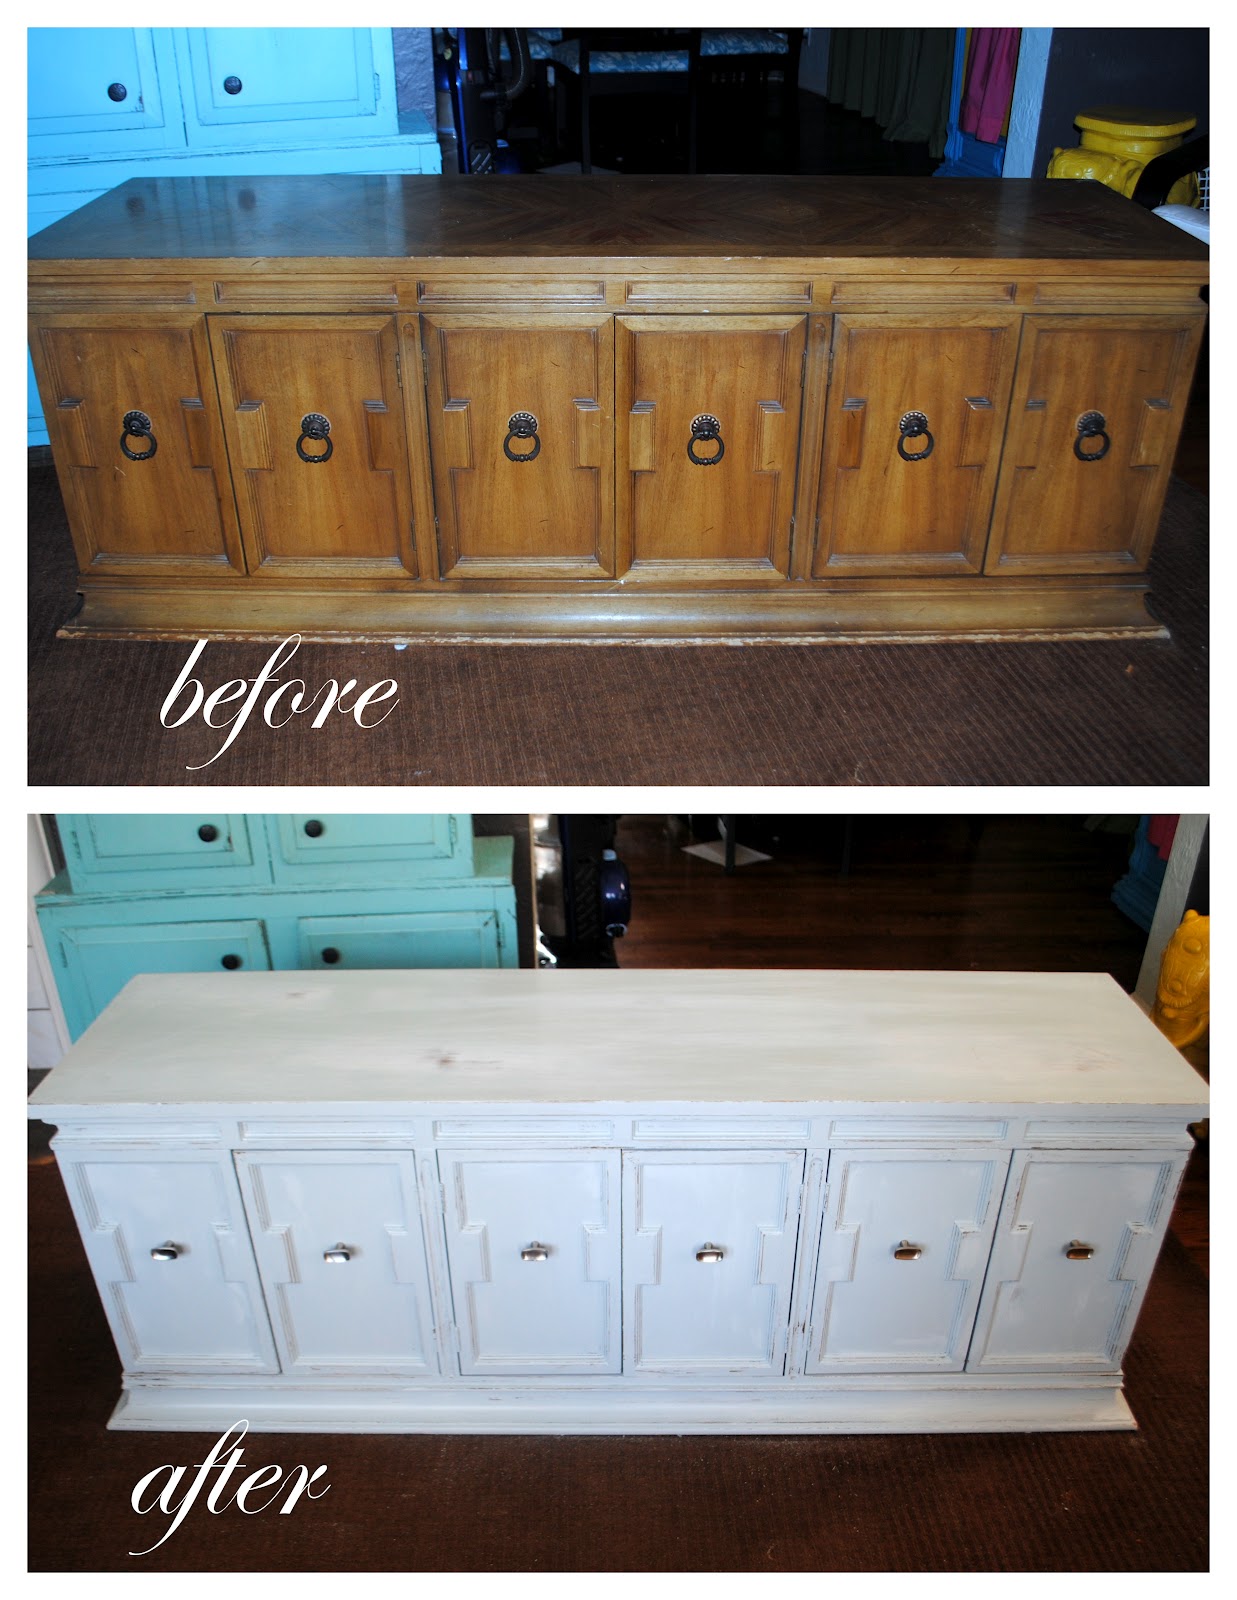
This is a record console (it has vertical dividers in each section of double doors) that i found on the curb. WHO would throw this away??? not i. (also, I passed up an old organ because i couldn't think of anything fun do with it. It looked like a piano, but had a few rows of keys. thoughts??) I lightly sanded it, primed and painted it a gorgeous blue-grey, distressed it and changed out the knobs.
These end tables came with the chevron coffee table (here) that I beautified a few weeks ago. No before picture, but just imagine... dark wood. dangley handles. yuck.

I like chairs. Here's another one with a FABULOUS back design. So retro! I painted it grey and had to create a seat for it because the one that was on it crumbled in my hands as i unscrewed it. ewww.
After buying some new foam, i covered the seat in a pretty yellow corduroy with wide stripes. :)
Show some love- link up at our weekly party today and don't miss another one! Fill in your email address on the right sidebar to keep current! (hint, hint. g-i-v-e-a-w-a-y soon)
*Link-up your post (not your main URL) to this party, then include a link back to this page  
*No Etsy pages or business websites please.
 *Include a short description of your project and the name
of your blog in your link up.
   * Visit at least 2 other blog links and show them some love!
  *Grab the party-link button on the left side bar so others can join the PARTY!


Saturday, March 3, 2012

Console TV Makeover

I had the best time with this TV makeover!
Here is the console TV that I found on Craigslist in the "FREE" section...
(I don't know how I convinced my husband to pick this up with me, but he must love me a lot because he did.. and then only teased me a little about our "new tv").
See? and then he tried to take it apart (but gave up and watched the race instead).

So I took it apart the next morning (with helpers, of course!).
Here is Penny reporting the news for me.
The actual glass television part was SUPER heavy.
I ended up rolling it into a pink tote for my husband to take to the curb.

Once I got it cleaned out, I painted two coats of aqua on the outside and two coats of yellow inside. And here's a secret... this was originally supposed to be a dog bed, HOWEVER- the dog wouldn't get in it and the kids wouldn't get out!

Above, you can see how I took off the back and covered it.
I used a tablecloth and cut a hole for the "window" (Also, the Radiation warning. eek!)
Play date!
During the play date, I made a curtain out of an old pillowcase and hung it with a tension rod.
The girls haven't gotten out! So far, it has been a reading nook, a house, a bus, an airplane, a puppet theater, a *very* brief dog bed, a hideout and a store.

Monday, October 10, 2011

Tutu's {Tutorial} and Flower Girls!

Last week, a friend of ours decided to get married- and quick! She asked our girls (ages 3 and 1 1/2) and a friend's little girl (1 1/2) to be flower girls, but what to wear??

I had this hand-me-down dress for our 3 year old to wear,
and decided to make matching tutus for the younger girls.
First, gather your supplies.
I made 2 long tutu's and used 5 yards each of two colors tulle (white and light pink), and 2 yards of peach shimmer. Careful with that stuff- there's glitter everywhere! I also made matching hair bows, so there's a bunch of peonies and ribbon.
I used the metal clips for hair at Sally's. They are relatively inexpensive and come in a big box. With the hot glue gun, wrap a piece of ribbon (starting inside) around most of the clip. leave the bottom section bare so that it has some grip in the hair.Then separate your flowers and leaves. I used bunches of 3 leaves.
Glue a leaf bunch onto each clip. . .
and then the flower. I put it at an angle because it has more surface area for glue to stick.Here's one on me so you can see it- they're big!I didn't like the worn looking flower on the dress, so I cut it off and glued a new one on.Now for the tutu's!
Cut your ribbon so that it wraps around the little one's waist and makes a bow in back. I left enough so that the tails of the bow could stay long and elegant.

Next, center it and tie it around the back of a chair.
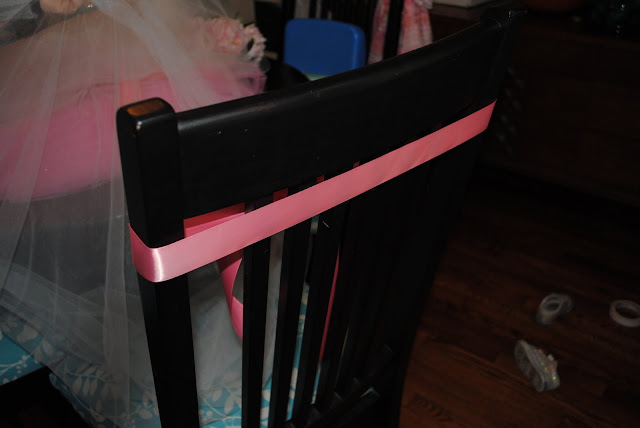
Locate your tulle. After some time has passed, who knows where it's gone off to?Stretch it out (best with a friend) and fold it length-wise as many times as you can.
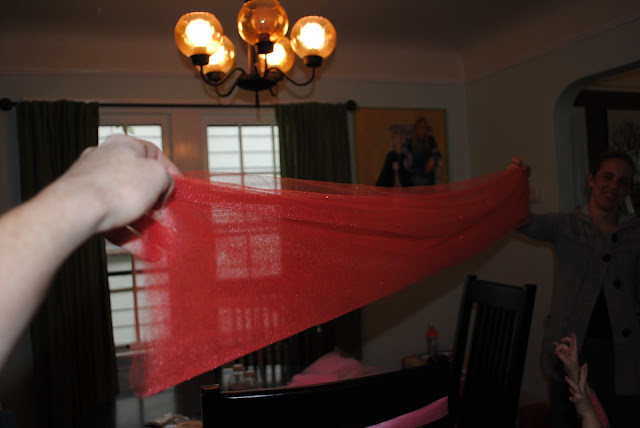
Start cutting from one end and make 6-inch sections. Really, any size would work though.Stack your sections and start looping!Fold one piece in half and make a loop behind the ribbon.Now pull the rest of the piece through that loop and pull snug. Not too tight though.
Keep looping and alternating colors.
I alternated between pink and white and went back later to add the peach sparkle evenly.

You can use any combination of colors! Keep going until you reach the fullness that you like and the width around the little one's waist.
Take it off the chair, tie your bow and try it on for size. Mark your length and tie it back up.
Trim for length. You could also cut your strips for length before you start tying.
Here they are! The bride found some cute headbands (and a tiara!) that she wanted the girls to wear, so we used the hair bows on the tutus.
Have fun making tutus for your little princess!

Tuesday, August 2, 2011

40 Bags In 40 Days

(I can do it. I can do it. I can do it.)

So, after finding a link on Pinterest, I was sent to a blog about someone attempting "40 bags in 40 days". They had seen it on Pinterest, too, so apparently it's popular.

I need to de-clutter. In a minute, I'll show you why and embarass myself for the sake of motivating you. The object of "40 bags" is to tackle one area each day and collect one bag of trash and/or goodwill items and get them out of the house! I am not a fan of collecting items for a garage sale. This great production was tried a few months ago in my front yard with a few friends, and was a complete failure. After looking at my junk for a few days, I came up with reasons why I needed to keep it.. and also some of my friends' junk. Grrrreat.

So, I've decided that one area of my house.. once a day.. isn't so bad. In fact, I'm looking at it as a game. :) Does anyone want to join me??

Here's my list. It's posted on my kitchen cabinets. Yes, you have to go in order. No jumping to the easy stuff, now.
...and here is why I have to start. Below, you can see one of my many candy dishes as well as one of my many junk drawers. This is my favorite junk drawer in the kitchen.
Motivated yet? Come on, let's get 'er done! :)

-Sarah

Here are 4 different 40 Bags in 40 Days Printables to help you get started!
Just click on the print you want, download, print and fill it in.


linking up to these parties:

Wednesday, May 11, 2011

{free printable} and chicken wire frame

we had quite the thunder and lighting storm last night, i am still not used to this nebraska weather. . . insane!
anyway, since it kept me up. . . i had time to think (which is usually never good)
the storm reminded me of this print a made a few months ago when i needed a boost. . .
just thought i would share
click here or on the picture to download a 5x7 print


Monday, May 9, 2011

{armoir} before & after

this beast has been with us through 5 moves in 7 + years and has taken a beating.
it was in desperate need of some tlc so what else is there to do. . .
but paint it?!?

yes, there is a some cumin or garlic salt in my family room
thank you tatum for learning how to open cupboards and rearrange the house.

i just sprayed some tsp on that bad boy, lightly sanded it and started painting it blue.
after the first coat dried, i freaked out a little (as did my husband) because it was very baby blue and would be cute in a nursery or kids room but not our family room!
since, my kids were sleeping and i was desperate to get this done,
i just added some tan, black and maybe a little brown in the paint. . .

and i liked how it turned out!
painting the inside white was not my idea of fun. it took more coats than i cared to count.
i decided to just put some white contact paper down on the shelfs instead of paint.

just love those knobs!
a HUUUUGE thank you to my sister for telling me about polyurethane in a spray paint can!!! saved me hours. . . ok, days of work!

Related Posts Plugin for WordPress, Blogger...